Showing posts with label design. Show all posts

Tuesday, April 16, 2013

WORKING ON MY GUEST ROOM QUILT...AND MORE...

Since J moved out of the house back in January, Dear Hubby and I have been playing musical bedrooms...fixing up J's room as my "Expansion Sewing Room" and slowly moving hubby's "house" office out of the fourth bedroom, which will become our new guest room.  Since we have moved J's old queen sized bed into the guest room, we will need bedding to match the room.  Luckily I found a set of new blue sheets in the linen closet, but the only blankets/quilts available to put on the bed are J's old black vellux blanket and his dorm room denim quilt.  Not very pretty for our new room!  Serviceable and warm, yes, but pretty?  No.  So I have begun work on a quilt for the bed.


After paying to have J's old room repainted, hubby and I certainly can't afford to change the decor of the guest room too.  Being "stuck" with the yellow (not my favorite color...the room was originally J's gender neutral nursery updated years ago with a border and curtains to make a grown up bedroom)


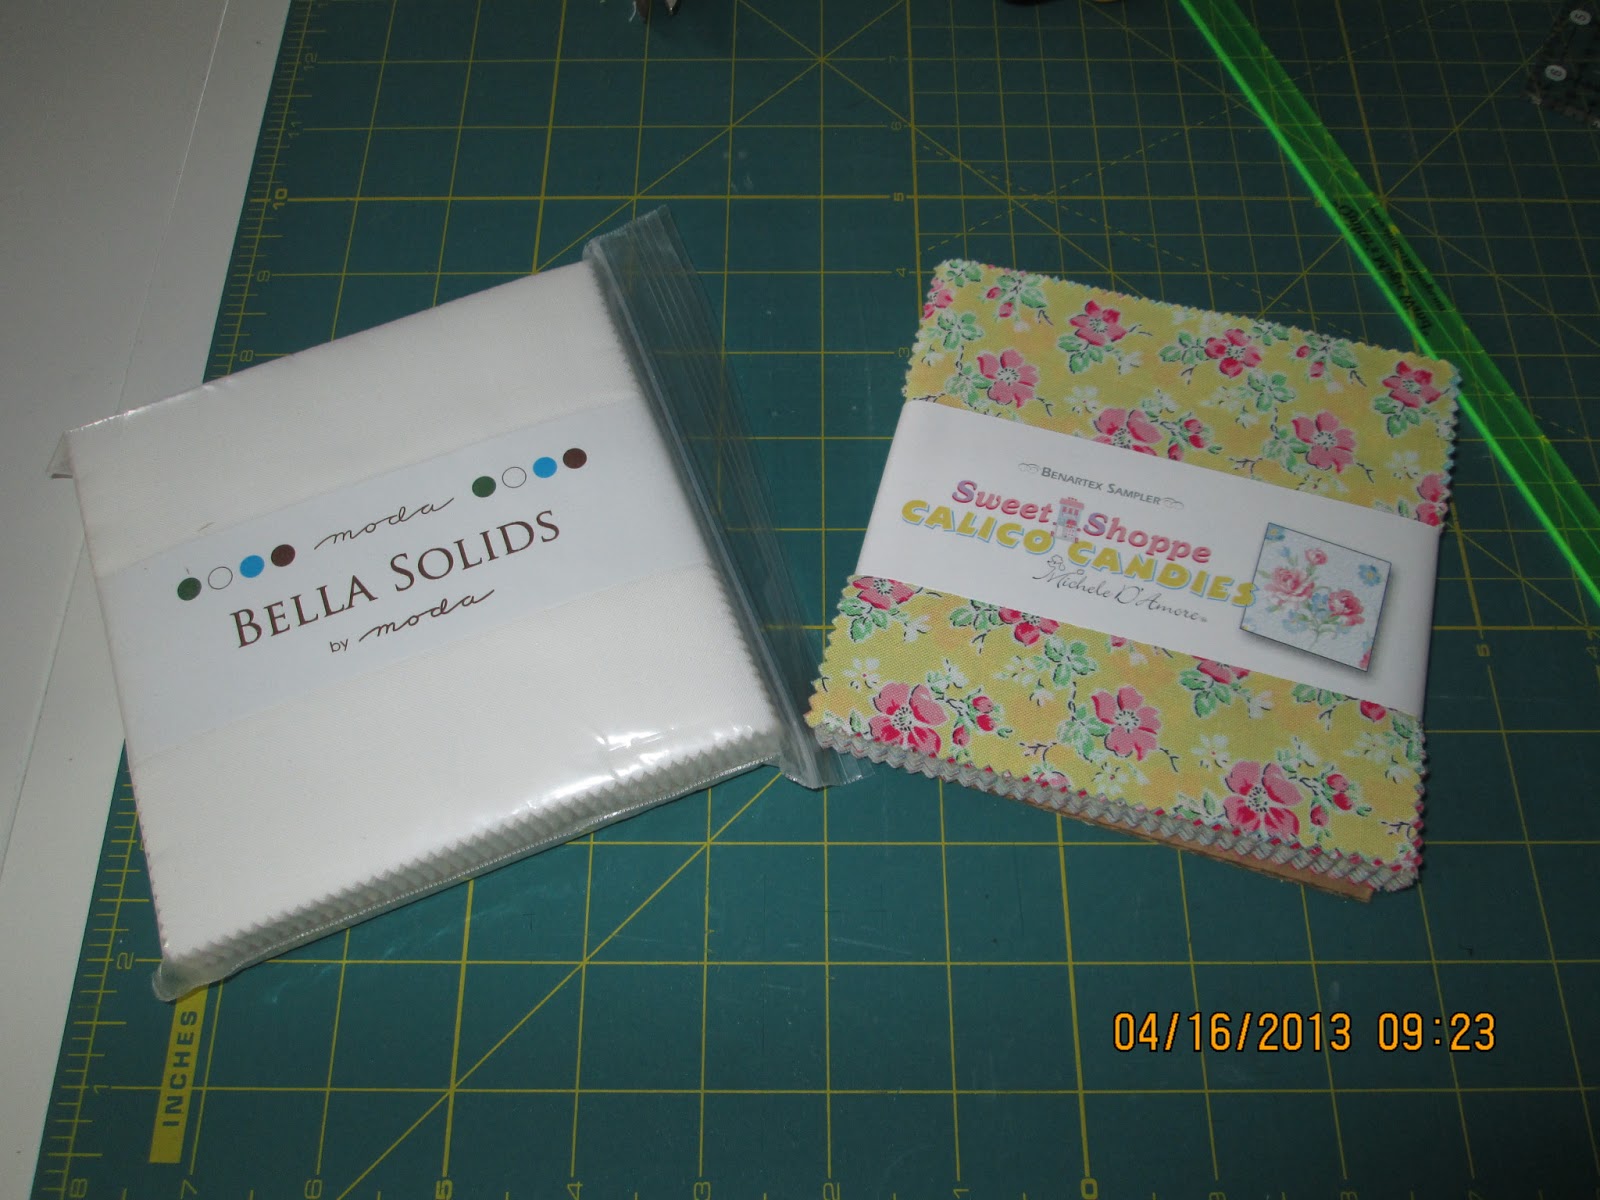
I picked out Sweet Shoppe Calico Candies material by Benartex as it contained all of the colors of the bedroom and retained that "cottage-y" feel (which I DO love, by the way!  It's so ME!).


I then picked out a pattern that felt "scrappy" to me (my first love in quilts) and mimicked the lattice frame on the wall.   However, since I am using 5" charms to construct this quilt, with each of my blocks finishing at 4.5", it is going to require tons and TONS of blocks and hours and Hours and HOURS of work!  Good thing I am in no rush to have the room finished (especially when I only average 12 to 18 blocks per week!), lol.  I am not even sure I have enough charm squares to finish a queen sized top.  Lol.  I tend to "wing it" when designing quilts and adapt as I go along.  While I do have quite a few similar patterned/colored fat quarters that I could cut into charms allowing me to keep it completely a 4.5" block quilt, I may consider some type of sashing to break up the pattern and speed the quilt to completion.  I'm not sure yet and will play it by ear as I move along.  


I am using Bella Solid white charms in the construction of the block.  


Each charm is cut into 2.5" squares, which are used to form the pattern of my quilt blocks.  


White squares are positioned in opposing corners and pinned in place. 


Then, using my all-time favorite quilting gadget (Quilter's Magic Wand), I draw my stitching lines. 


By moving the wand to the right of the stitching line I am able to draw another stitching line 0.5" away.  


Two stitching lines done.  


Flip the block around and do the same on the other 2.5" white square. 


Move to the machine and sew on all four stitching lines.  


Snip all threads and prepare to kill two birds with one stone!  


Cut down the middle of your two sewn lines.  


This will give you your primary block AND two teeny tiny half square triangles for a future project!


I wasn't kidding when I said "teeny, tiny"!  Those small HST's will finish at just 1" square!  Teeny, tiny and Oh. So. Cute!  I am thinking they would look just darling as the border on a throw pillow!  As tiny as they are, though, I know better than to try to work with them unless I am having a really good tremor day, lol.  


So, after working on my quilt for just 30 minutes my tremors decided to make their presence known and forced me on to bigger, more tremor friendly things (crochet).   


My stack of completed blocks to date.  A mere thirty one blocks out of, oh I don't know, maybe a gazillion?  This quilt is going to take a long, LONG time, lol.  I think my mom was right when she said I needed to live to be at least 125 to finish all of the projects in my head, but maybe I need that many years just to complete THIS one!


Off to work on crocheting the last dish cloth so I can list them in my shop.  Oh, and speaking of crochet...


On Sunday the landscaper came out and weeded, edged and mulched my flower beds.  Over the years all of my beautiful daffodils have died...with the exception of the muted, slightly peach colored flowers you see above.  They looked so pretty set against the new dark black mulch.  So I took my scissors out and cut a few fresh flowers to enjoy in my sewing room.  After pulling out my small vase I decided that a thin, top heavy water filled vase was NOT an ideal candidate for a tremor ridden admirer.  I could just PICTURE the vase and water splattered all over!  A quick search through my glass jar collection located this short, squat jelly jar.  While I like the pattern in the glass, it was still BORING.  So I crocheted a white bobble edging to put around the rim.  Okay, better...but still kinda BORING.  I crocheted a few pink flowers and green leaves to add to the edging.  I pinned them onto the edging in an effort to "live with the look" before I attach them permanently.  Cute, but.....I don't know.  


I like the light pink because it clearly picks up the pink flowers on my tea pot, but I feel like something is just not "right".  Maybe two flowers are too much?  Any suggestions are welcomed!!!! 
 

Wednesday, November 7, 2012

DESIGNING NOTEBOOK

As any quilter can attest, there is never just ONE "future quilt" floating around in your head, but zillions of designs and color combinations...all vying for the prominent place in your brain so as to be the next quilt started!  I decided that what I really needed was a "Design Notebook" in which to draw up all of my quilt dreams for future reference and completion.  Goodness knows, I wouldn't want to have one of my creations fall into the deep dark holes in my brain and never come to the light of day!

After a thorough search through all of the nooks and crannies of our storage closet for a suitable tablet of graph paper, and finding NONE (I would have sworn there were at least two or three in there!), I was forced to head to the store to purchase a spiral bound notebook.  Since I figured the notebook would be permanently out on my cutting table, I chose a blue cover to match my sewing room. 


As soon as I got home from the store I rushed right up to my sewing room, opened my new book, grabbed a pencil and waited for inspiration to strike.  Nothing!  Not even a split second flash of colors entered my brain.  Where had all of my beautiful ideas gone?  Had I lost them all?  Or, worse yet, had I suddenly lost all vestiges of creativity?  I closed my book and stared.  What was the problem that had blocked my Picasso moment?  As the blue cover of the notebook filled my vision a light bulb slowly took shape above my head.  That was it...my notebook was BORING!  How could I expect to create within the pages of such a bland book?  Creativity inspired creativity!

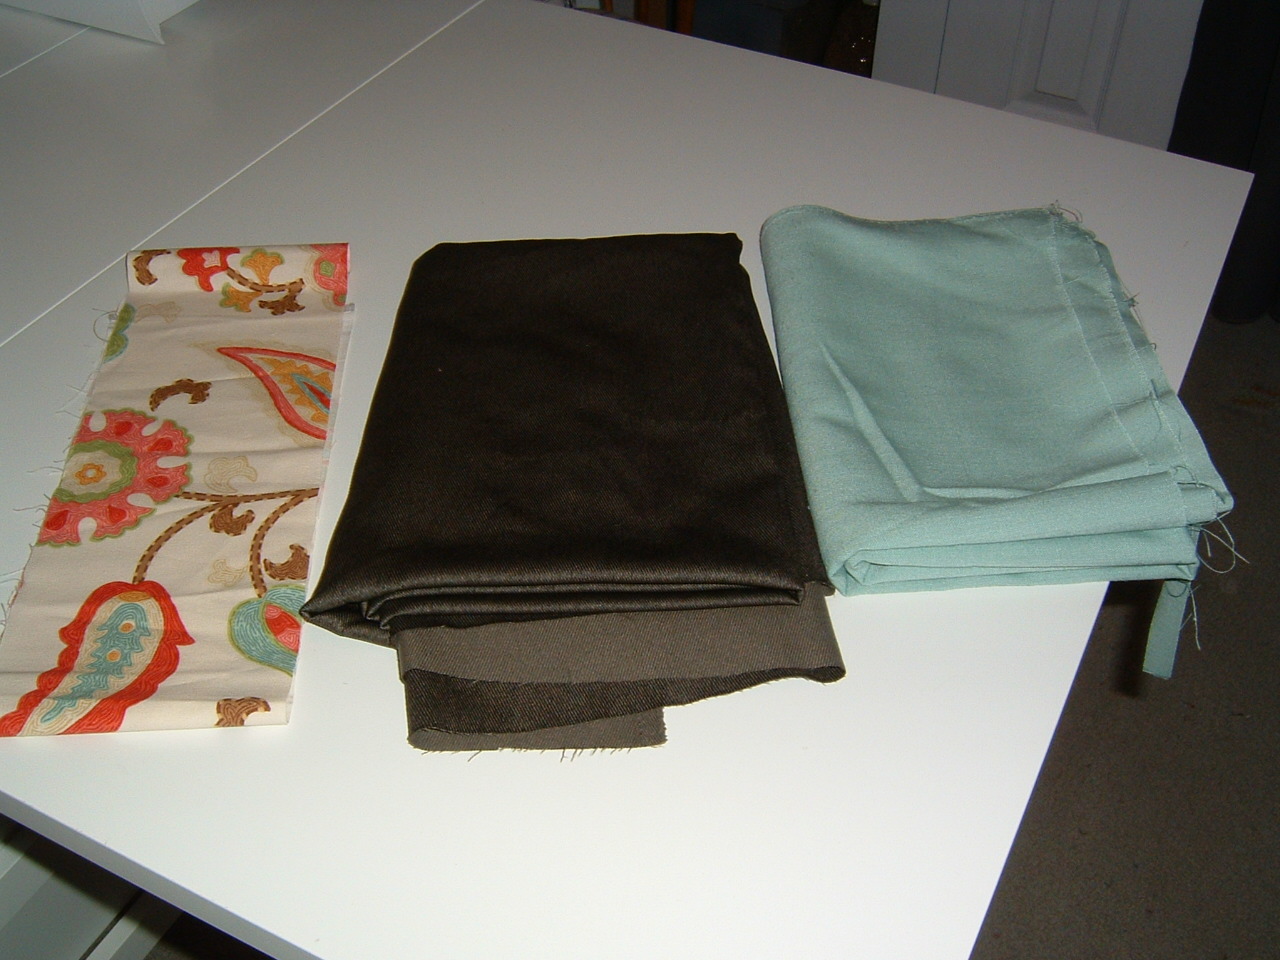
Thinking back to the pre-"book sox" days when my school books were covered in brown paper bags, I did a few quick measurements and decided on the amount of material I would need to make a jacket for my notebook.  I needed it to be sturdy, of a dark enough color so as not to get "grungy" from frequent use, but "fun" all the same.  A quick scrounge through my fabric stash brought forth a "happy" and colorful material that reminded me of Scandinavian design.  A remnant of a long ago Ikea pattern?  Since I get most of my materials from fellow Freecyclers, I was unsure of the source (or fabric content)...but I was absolutely certain that I wanted this material for my notebook.  Now I just needed a dark material that would hold up well to constant use and abuse.  A brown "suiting"? type fabric fit the bill and would pick up the brown stems of the flowers nicely.  A light bluish/aqua linen look material matched perfectly and would be ideal for the lining and a small pencil holder on the front.


Now for the trim.  Although the patterned material sported both red and a "watermelon" pink color, I decided to accentuate the pink with a thin grosgrain ribbon and thread.  The pink thread would look nice against the brown cover.  I had always been a sucker for brown and pink.

The book jacket itself was surprisingly simple to construct and within an hour I had my notebook covered and ready to use.  Even better, it was now a self contained designing tool that I could take on vacation with me...ready to call upon the ocean view off of my balcony for inspiration. 


But, how was I going to carry a large selection of colored pencils with me?  I could store them in a zippered pouch, but then I would be juggling numerous pencils on my lap as I searched for the specific one I needed.  Not good when you are sitting on a balcony 11 stories up!

My dilemma was solved by a freebie I received yesterday.  I had placed an order for ink from Office Depot.  Because of my timing (I never order unless there is a "promotion" I am interested in) and the order amount, I was able to receive a set of 10 colored highlighters...FREE.  These highlighters came in a plastic pouch...all self contained and all visible at a glance.  While the highlighters didn't provide a very wide selection of colors, I could probably use them to illustrate a general coloration in my blocks.  AND, if I had a specific quilting pattern in mind, the dotted quilting lines in my design would be visible through the highlight color.  Eureka!

I had left the inside flaps on my jacket large enough to accommodate various thicknesses of notebooks.  The back flap would be more than sufficient to hold the pack of highlighters, but how would I secure them inside the flap?  I decided on a button attached to the inside of the jacket, a sufficiently sized hole cut into the back of the cardboard notebook for the button to fit through and a hair tie to attach the flap to the button.  My ideas worked well and I look forward to carrying my designing notebook with me so that I can draw out my ideas whenever and wherever I'm inspired!

Now I just need to find the lead for my mechanical pencil!  I'm sure it is here someplace........